
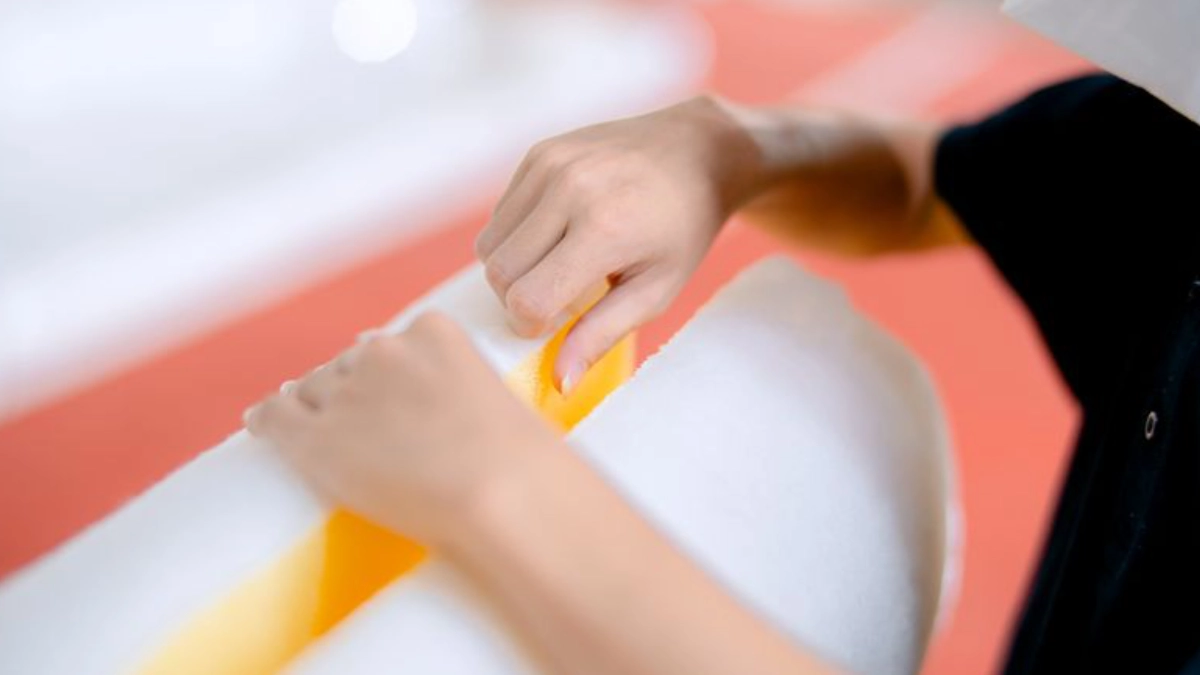
What happens during professional insulation removal is more than tossing old batts into a truck. It is a planned, careful process that protects your home, the people in it, and the work that comes after removal. If you are searching for professional insulation removal Pensacola FL, this guide will walk you through the steps you can expect, why each step matters, and how A2 Home Improvement approaches old insulation removal with safety and efficiency.
Why professional insulation removal matters
Old insulation can lose effectiveness, hold moisture, or be contaminated by pests or mold. Removing it without a plan can spread dust and fibers throughout the house. Professional teams follow an insulation removal process that reduces mess and limits the chance of damage to walls, ducts, and wiring. They also provide inspection and advice so you know whether you need new insulation, repairs, or additional moisture management. Hiring pros also helps with safe insulation removal. Professionals use the right tools and methods to collect and dispose of materials. They can spot hidden issues, like roof leaks or damaged framing, that often show up when insulation is removed. That inspection step helps you avoid surprises later, and it ties into the kind of home-improvement planning A2 Home Improvement offers.
Step-by-step: What happens during the insulation removal process
Before any removal starts, the crew inspects the attic, crawl space, or wall voids. They look for signs of moisture, pest activity, or damage to structure and insulation. This inspection is important because it shapes the work plan. If moisture is present, the team will recommend fixing the source before installing new insulation. A2 Home Improvement couples inspection with clear options, so you know whether to move forward with removal, repair, or treatment planning. Next, the team sets up containment to limit dust and fibers. They seal off doors, vents, and openings to prevent material from spreading to the living parts of the house. Floors and surfaces that might be affected are covered. Containment helps ensure a cleaner removal and a safer home environment during the work. Technicians wear protective gear to keep themselves safe and to prevent cross contamination. They use gloves, respirators, and coveralls as needed. For the work itself, professionals use vacuums, rakes, and specialized machines that capture loose-fill insulation or extract batt or blown-in material efficiently. These tools make the insulation removal process faster and cleaner than a do-it-yourself approach. Insulation is removed section by section. Loose-fill material is usually vacuumed into sealed containers. Batts and rolls are carefully pulled out to avoid disturbing wiring and ducts. If there are any suspect materials or areas that need closer inspection, the crew notes them for the homeowner and documents findings. Removed material is placed in heavy-duty bags or containers ready for transport. After the insulation is out, the crew inspects framing, sheathing, wiring, and ductwork for issues that could affect new insulation. They check for signs of water entry, damaged roof vents, pest nests, and compression or gaps in insulation around wiring. Based on what they find, they provide options for repair, treatment-planning, or replacement insulation choices. This is also the time to discuss moisture control, ventilation, and the best insulation types for your home and climate. Professional teams clean affected areas thoroughly and dispose of removed insulation according to local guidelines. They leave the work area ready for the next steps, whether that is immediate installation of new insulation or repair work. A clean site helps protect indoor air quality and reduces the risk of debris getting into ducts or living spaces.
Safety and what to expect after removal
Safe insulation removal includes more than protective gear and tools. It also includes good communication and follow-up steps. Expect a clear estimate and a written plan before work begins. The crew should explain any hazards they find and outline the repairs that might be needed. If the inspection suggests water testing or other checks, A2 Home Improvement can discuss our water testing options and treatment planning to address moisture-related risks. This helps you avoid installing new insulation over a problem that will come back. After removal, your home may be dustier than normal for a short time, but a professional team will take steps to minimize that. Ventilation should be improved and the work area cleaned. If new insulation is not installed immediately, ask about temporary covers to keep attic or crawl space areas protected from weather and pests. Documentation is a key part of professional insulation removal. Photos and written notes about the condition of the space help you track needs and changes. Inspections help determine whether repairs or additional services are required before insulation replacement. This kind of documentation is also useful if you plan to update other parts of your home, or if you want a clear record for future maintenance. A2 Home Improvement focuses on inspection and practical recommendations. We do not make unsupported claims about removing specific contaminants unless testing confirms a problem. Our goal is to give you the accurate information you need to make safe choices. Once removal is complete and any repairs are done, it is time to choose new insulation. There are many options, such as blown-in cellulose, fiberglass, or foam alternatives. The right choice depends on R-value needs, budget, and the conditions discovered during removal. Professionals will recommend options that meet local code and climate needs, and that fit your goals for energy efficiency and comfort. If moisture was a factor, the team may suggest upgrades to ventilation, sealing of ductwork, or water testing in conjunction with treatment planning. A2 Home Improvement can help you understand how insulation ties into the larger picture of home comfort and energy savings. We offer clear advice on materials and installation methods that make sense for Gulf Coast homes.
For related service information, visit https://a2homeimprovement.com/insulation-pensacola-fl/
Frequently Asked Questions
1. How long does professional insulation removal take?
Timing depends on the size of the area and the type of insulation. A small attic can take a few hours, while larger attics or multiple crawl spaces may take a day or more. The inspection and any necessary repairs add to the timeline. Your contractor should provide an estimated schedule before work starts.
2. Will insulation removal make my house dusty?
Some dust is likely, but professionals use containment and high-efficiency vacuums to reduce airborne particles. Good preparation, like sealing vents and covering living areas, limits dust spread. Expect some cleanup, but not the uncontrolled mess that can happen with a DIY approach.
3. Do I need to leave the house during removal?
In most cases you can stay in your home. However, some homeowners choose to leave if they are sensitive to dust or if the job involves a large amount of loose-fill material. Discuss this with your contractor so you know what to expect.
4. Can old insulation contain hazardous materials?
Older homes may have insulation issues related to moisture, pests, or degraded materials. If there is a concern about hazardous materials, professionals will recommend testing and safe handling practices. A2 Home Improvement focuses on inspection first and will propose appropriate next steps based on findings.
5. How do I know if I should replace insulation after removal?
Replacement depends on your goals and the condition revealed during removal. If insulation is water damaged, compressed, or contaminated, replacement is usually best. If it is simply aged but still in good condition, adding more or improving air sealing might be an option. A professional inspection will help you decide.
6. What about ventilation and moisture after insulation removal?
Proper ventilation and moisture control are key to successful insulation replacement. The removal process often uncovers ventilation or roof issues that need attention. A2 Home Improvement can include ventilation recommendations and, if needed, discuss our water testing options and treatment planning to address moisture concerns before installing new insulation.
Conclusion
Professional insulation removal is a careful, multi-step process that protects your home and helps you plan the right next steps. From inspection and containment to removal, cleanup, and post-removal recommendations, each part of the insulation removal process helps avoid surprises and prepares your home for better efficiency and comfort. For homeowners in Pensacola and the Gulf Coast, choosing a team that documents findings, advises on repairs, and connects insulation work to broader home-improvement needs makes a big difference. A2 Home Improvement provides thorough inspection, treatment-planning, and insulation services to guide you from old insulation removal to a cleaner, more efficient home.
Ready to Improve Your Home’s Efficiency?
Contact A2 Home Improvement for an estimate on our insulation removal services and learn how removing old insulation can lead to a more comfortable and energy efficient home. Reach out to discuss your project, schedule an inspection, or get a written plan that fits your needs.